How to Clean AutoFlo+

Weekly Checklist

Every Two Weeks Checklist 

See below or review our User Manual for detailed instructions


Once a week: Clean your brush head and handle.

1. Submerge your brush head and lip rest in a container of 3% hydrogen peroxide for at least 4 minutes. Rinse thoroughly with clean water. 

A technical line drawing illustration demonstrating a 5-minute sanitizing process where a 3% liquid solution is poured into a bowl to submerge and clean a Willo U-shaped toothbrush mouthpiece.


2. Fill the entire blue chamber at the top end of the handle with 3% hydrogen peroxide. Secure the handle cap. Soak for 5 minutes.

  • Use a cup to keep the handle upright and let soak for 5 minutes.


Side-by-side technical line drawings showing a 3% solution being poured directly into the top cavity of a Willo electric toothbrush handle on the left, and the handle resting inside a glass cup on the right.


3. Pour the liquid into the sink and clean remaining residue with a 3% hydrogen peroxide soaked cotton swab. 

A technical line drawing illustration showing a hand using a cotton swab to meticulously clean the inner rim and top cavity of a Willo electric toothbrush handle.


Once every two weeks: Run an AutoClean cycle to deep clean the inside of your Willo.

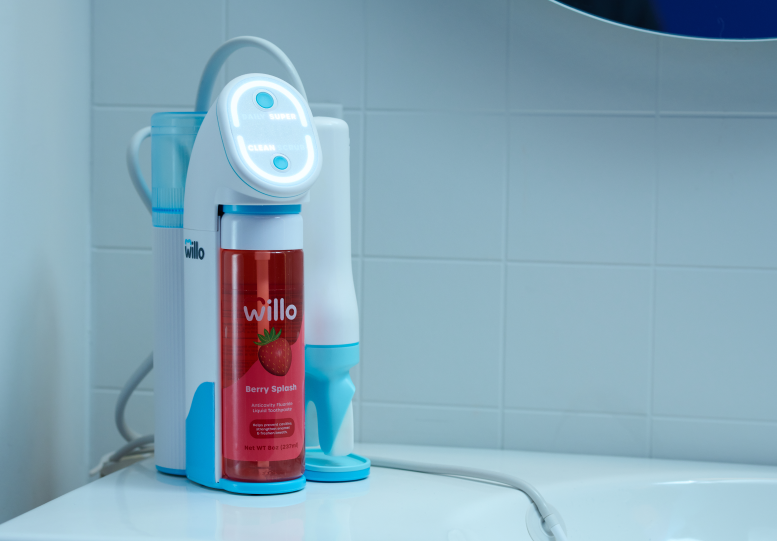
1. Pour 3% hydrogen peroxide into the cleaning bottle above the minimum fill line. Insert the cleaning bottle into the bottle slot and snap into place. Hydrogen peroxide is a safe, non-toxic and tasteless. Each cleaning cycle uses a small amount of hydrogen peroxide. If you fill your bottle to the top, it will last you several months.

Side-by-side technical line drawings showing a 3% solution being poured into a cleaning bottle on the left, and that bottle installed into a Willo electric toothbrush docking station with a purple arrow indicating a flipping interface mechanism on the right.

2. Remove the water tank and any remaining water, then fill it with 3% hydrogen peroxide up to the 40ml fill line. Reinstall the water tank. 

Side-by-side technical line drawings showing a 3% solution being poured into a 40ml graduated fill cup on the left, and a purple arrow pointing down to a port on the Willo base station on the right.

3. Remove the OptiClean brush head and lip rest from the handle and install the cleaning plug. The Willo logo will be on the same side as the handle button. Place the handle on the hook.

Side-by-side technical line drawings showing a purple arrow indicating the removal of the blue lip rest from a Willo toothbrush handle on the left, and a multi-part exploded view demonstrating detaching the U-shaped mouthpiece and lip rest from the handle core on the right.

4. Position the drain hose in the sink.

A technical line drawing illustration showing a blue drain hose routed into a sink basin, with a purple arrow pointing downward to indicate proper water drainage during the system's cleaning mode.

5. Press and hold the top display button for 3 seconds to enter cleaning mode. The display will turn purple. When ready, press the button again to start cleaning cycle. Make sure the bottle and tank are in place!

A technical line drawing illustration showing a finger pressing the top button on the Willo base station panel to activate or manage the system's "DAILY SUPER" cycle mode.

6. After 15 minutes, Willo will chime and the display will turn blue. Now it's time to rinse. During this time the hydrogen peroxide will soak in the tubes to eliminate germs and build up.

A technical line drawing illustration of the Willo base station interface panel illuminating the "DAILY SUPER" and "CLEAN SCRUB" display lights while surrounded by purple musical notes to signify an audio chime or cycle completion.

7. Remove the water tank, rinse, and refill with fresh water to the top fill line.

A technical line drawing illustration showing a stream of clean tap water running directly into a graduated fill cup, rising past the 40ml indicator mark to reach the maximum fill line.

8. Remove only the cleaning bottle. Reinstall the liquid toothpaste bottle until it snaps into place. Do not remove the cleaning plug from the handle. 

A technical line drawing illustration showing a purple curved arrow indicating how to insert or install a Willo Minty Mist liquid toothpaste bottle into the front bay of the Willo electric toothbrush docking station.

9. Press the top display button to start the final rinse and prime. After 40 seconds, Willo will chime and your toothpaste is ready to go.

A technical line drawing illustration showing a finger pressing a flashing top button on the Willo base station panel while surrounded by purple musical notes to indicate a successful reset, setting adjustment, or audio confirmation.

10. Remove, dry, and store the cleaning plug. Reinstall the lip rest and OptiClean brush head. Your Willo is now clean and ready to use. 

Side-by-side technical line drawings demonstrating assembly removal, showing a purple arrow indicating the detachment of the blue silicone tab from a Willo handle base on the left, and an exploded view showing the U-shaped mouthpiece and lip rest detaching on the right.

WARNING: DO NOT use scented soaps, dishwasher soap, alcohol, hand sanitizer, premoistened wipes, or any other harsh chemicals, as they may damage your device and cause irritation. DO NOT put the OptiClean brush head in the dishwasher.

Following these instructions helps ensure your Willo stays covered under warranty. If you have any questions, please contact our support team for help. 

View all AutoFlo+ How to Guides